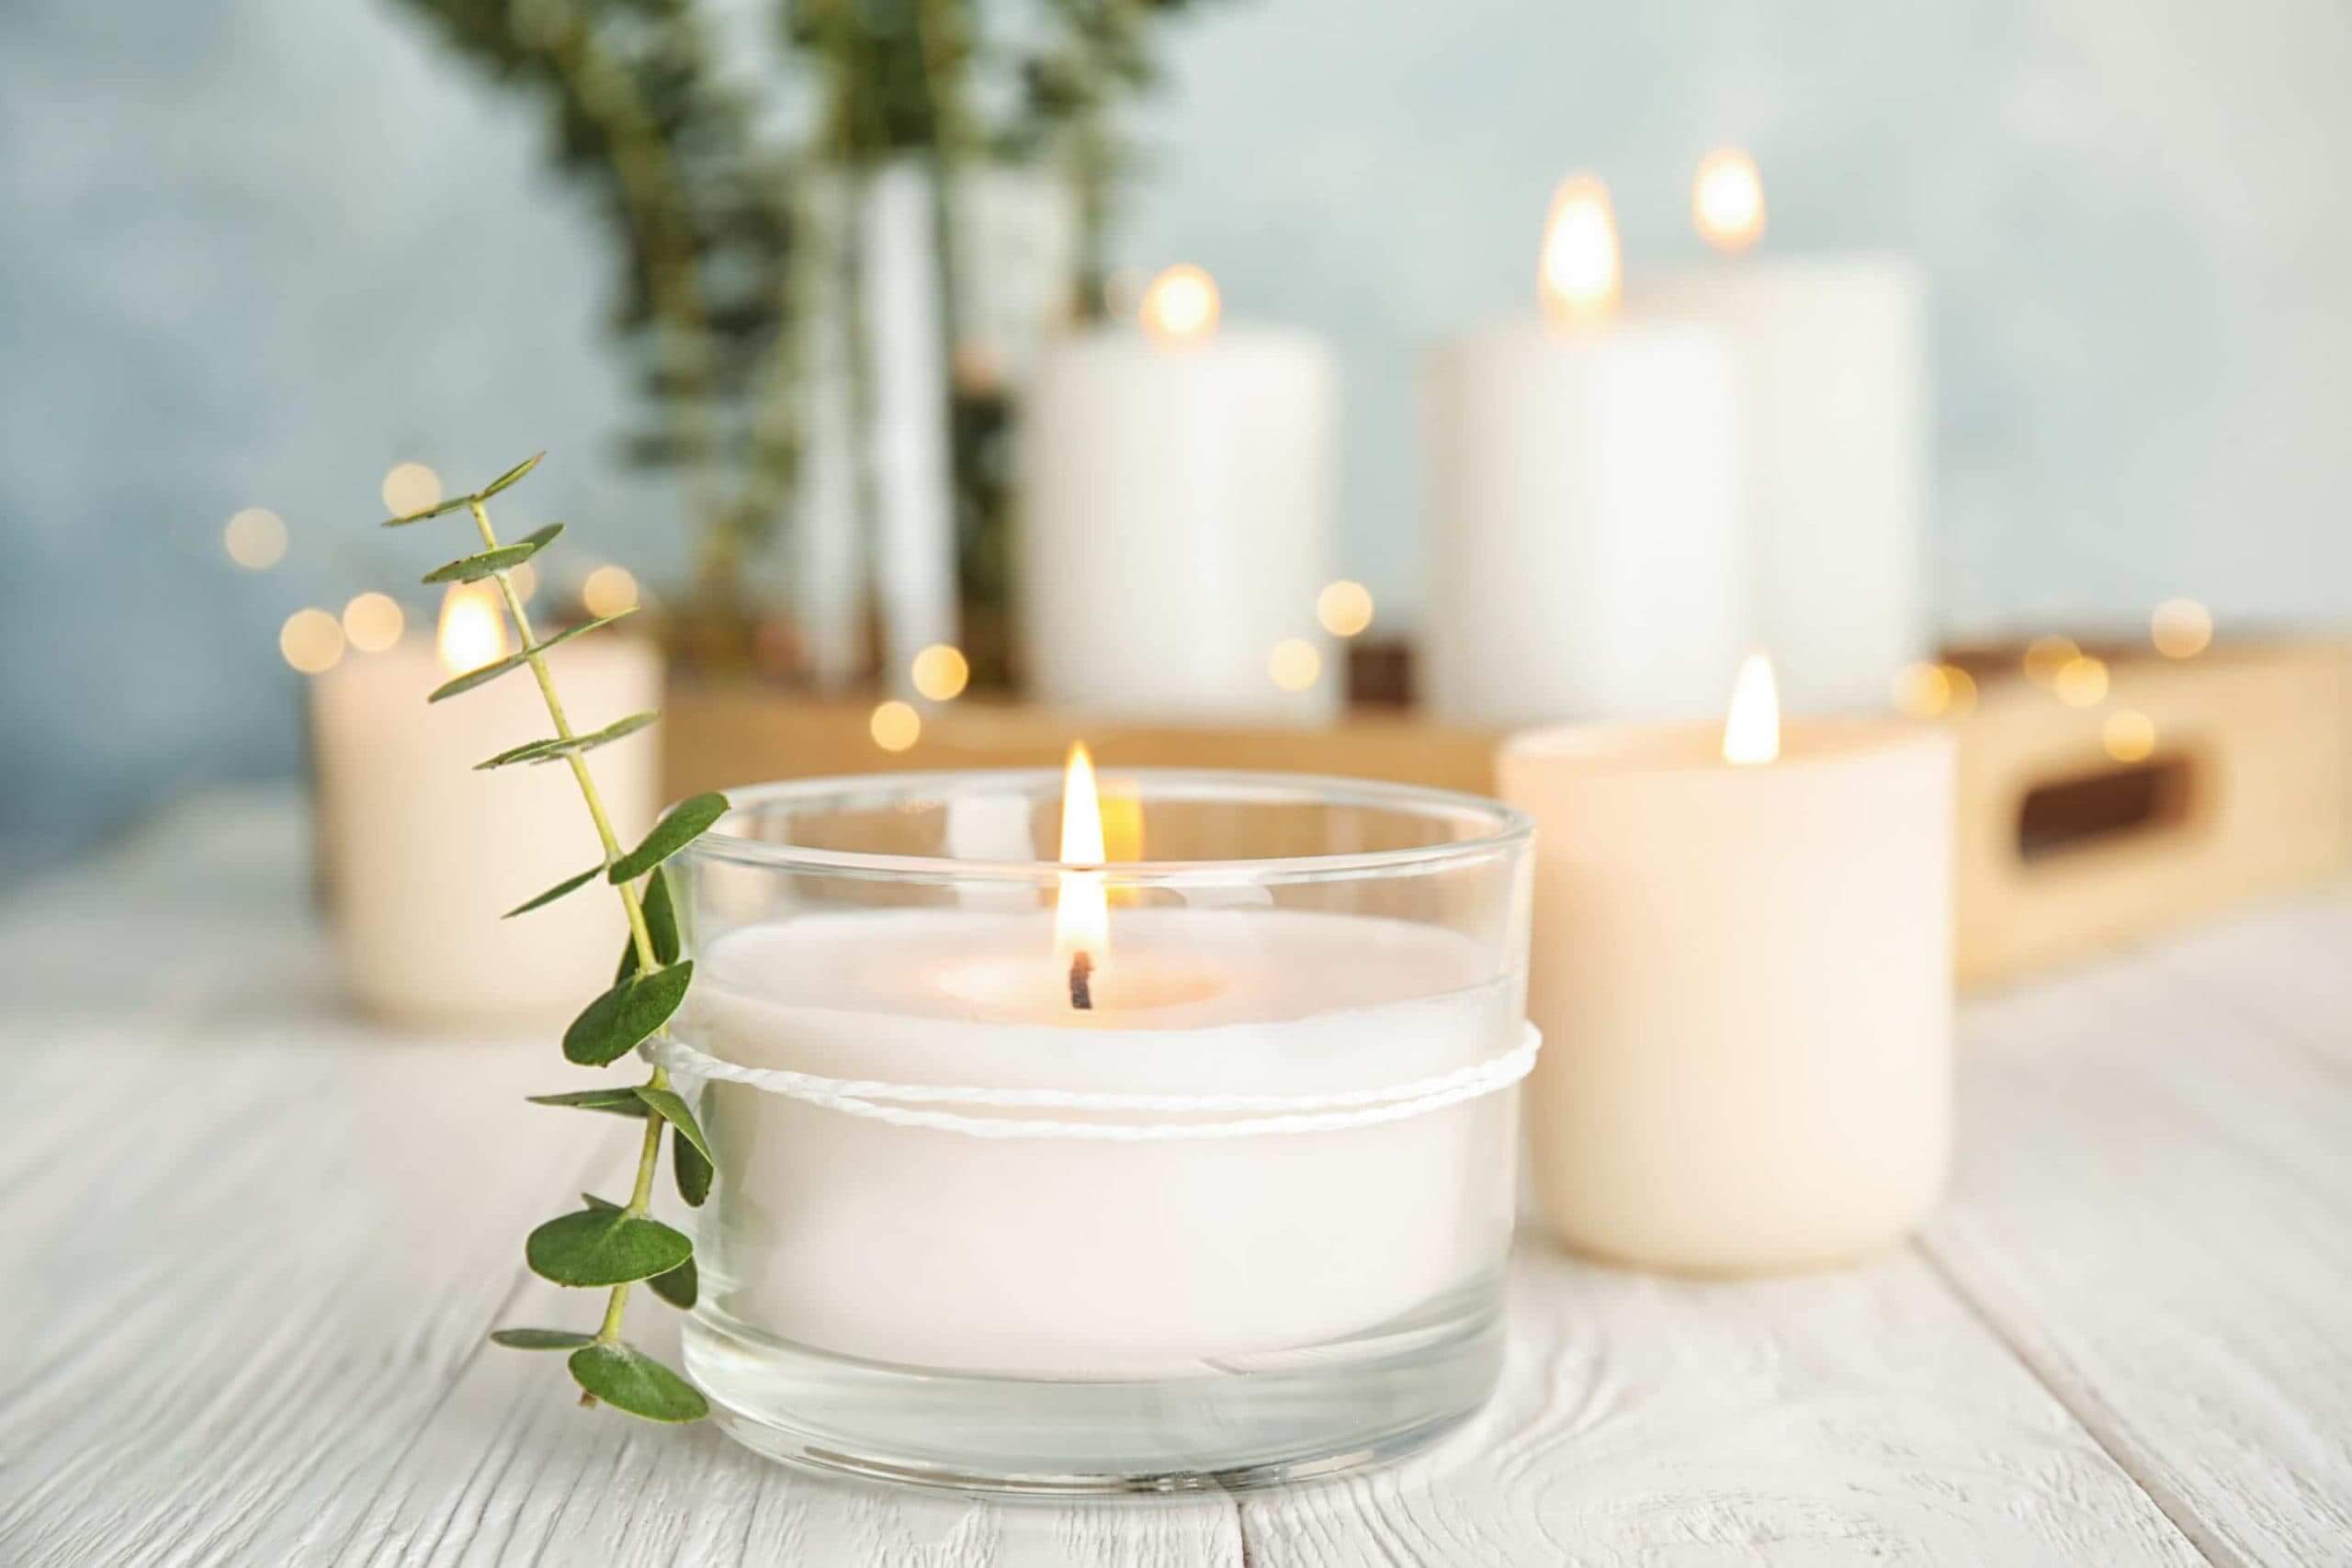
You can make a candle/ candles at home by following some simple DIY steps. They’re way cheaper than store-brought candles and easy to make. Let’s have a look on material required for making candles at home-
Material required for making Homemade candle-
-
- WAX: Wax, which you can purchase in bulk online or from your local craft store in the form of wax shavings or flakes. Popular options include paraffin wax, beeswax, and soy wax.
-
- WICKS: Wicks made of paper, cotton, zinc, or wood is required, as every candle requires a wick.
-
- FRAGRANCE OIL: Fragrance oils or essential oils, which are added to the melted wax during the candle-making process to give the candles their scent.
-
- SPATULA: A heat-proof spatula for stirring the wax and ensuring an even melt.
-
- CONTAINER: A heat-proof container, such as a mason jar, glass jar, or tin can, to serve as the candle container. The size of the container determines the size of the candle.
-
- DOUBLE-BOILER: A double boiler or a makeshift one, created by placing a metal bowl on top of a pot with a small amount of water in the bottom. The double boiler evenly distributes stovetop heat for controlled warming and is ideal for melting wax.
-
- THERMOMETER: A thermometer, such as a candy thermometer, digital infrared thermometer, or deep-fry thermometer, to measure the temperature of the wax.
-
- POPSICLE STICKS OR PENCILS: Popsicle sticks, pencils, chopsticks, or other lightweight, straight objects to stabilize the wick during the curing process.
-
- PAPER TOWEL: Paper towels to clean up any wax drips and spills.

How to make a candle using the above material?
Making candles at home is a simple process that requires a few specialized items, some planning, and a little bit of time. Here is a step-by-step guide to help you through the candle-making process.
STEP 1: – Prep Your Container
Before you start melting wax or mixing scents, you’ll need something to pour your wax mixture into. Craft stores sell votive holders and specific candle jars, but you can also use empty Mason jars or tin cans for your candles. Just ensure that you like the appearance of the container, as poured candles are not typically transferable to other vessels before burning.
Before you start, ensure that your candle containers are clean and dry, and place them on a flat surface. Keep your wicks, fragrance oils, and wick holders like Popsicle sticks or chopsticks nearby.
STEP 2: – Measure the Wax
Measure your wax by pouring wax flakes or shavings into your candle containers, which will act as the molds for your candles. Keep in mind that shavings take up more space than melted wax, so use roughly two candle containers worth of flakes per candle.
STEP 3: – Melt the Wax
Pour your wax shavings or flakes into your double boiler and heat the wax slowly. Use your spatula to stir the melting wax carefully and to catch any bits that rise up the edges of the pot.
Keep in mind that the melting points vary depending on the type of wax used. Paraffin wax typically melts at around 100 degrees Fahrenheit, soy wax at approximately 124 degrees Fahrenheit, and beeswax at around 145 degrees Fahrenheit. To monitor the temperature of your wax, use a candy thermometer.
STEP 4: – Add Scent
If you are making scented candles, it’s time to get creative! You can choose to use single-note fragrances, such as bergamot, mandarin, or rosemary, or pre-blended fragrance oils like sea breeze or apple pie. Alternatively, you can create your own combinations, such as rose patchouli or lavender sage.
Some fragrance oils are specifically formulated for candle making, so make sure to follow the instructions on the packaging. If you are using essential oils, slowly add 30 to 40 drops of oil per eight-ounce candle and stir the oils with your spatula.
STEP 5: – Place the Wick
You should place one wick in each candle container and seal it to the center bottom of the jar by placing a drop of wax or Super Glue on the bottom of the wick. This will help to keep the base of the wick centered in the container for an even burn.
STEP 6: – STABILIZE THE WICK
Sandwich the wick between two Popsicle sticks, chopsticks, pencils, or butter knives before pouring the wax. This will keep the wick upright while the wax hardens.
STEP 7: – POUR THE WAX
Slowly pour the wax into the candle container, filling it to just below the top of the rim. Pouring slowly will minimize air bubbles in the wax.
STEP 8: – CLEAN UP
Use paper towels to wipe up any melted wax drips on your work surface or the outside of the candle mold. To clean up hardened wax spills, use hot water.
STEP 9: – WAIT FOR THE CANDLE TO CURE
Your candle will take different amounts of time to cure depending on the wax you are using. Soy candles will take about four hours to harden to room temperature and three to four days to cure completely. Paraffin wax candles cure faster in about two days, while beeswax candles take up to 10 days to cure completely. Once your candle is dry, you can remove the sticks and trim the wick.
If your candle has dried with pockmarks or indentations in the surface, warm a small amount of wax and add a thin layer on top.
Now your candles are ready to use. Light your candle and let it burn, filling your space with a beautiful aroma. Candles make great gifts or items to sell online and are a cost-effective way to create a cozy, aromatic atmosphere in your home.
ALSO READ: How To Get Rid of Dark Circles
